Monitoring
A practical guide to monitoring your website
Choose what to check, set useful alerts and build a simple routine for investigating downtime.
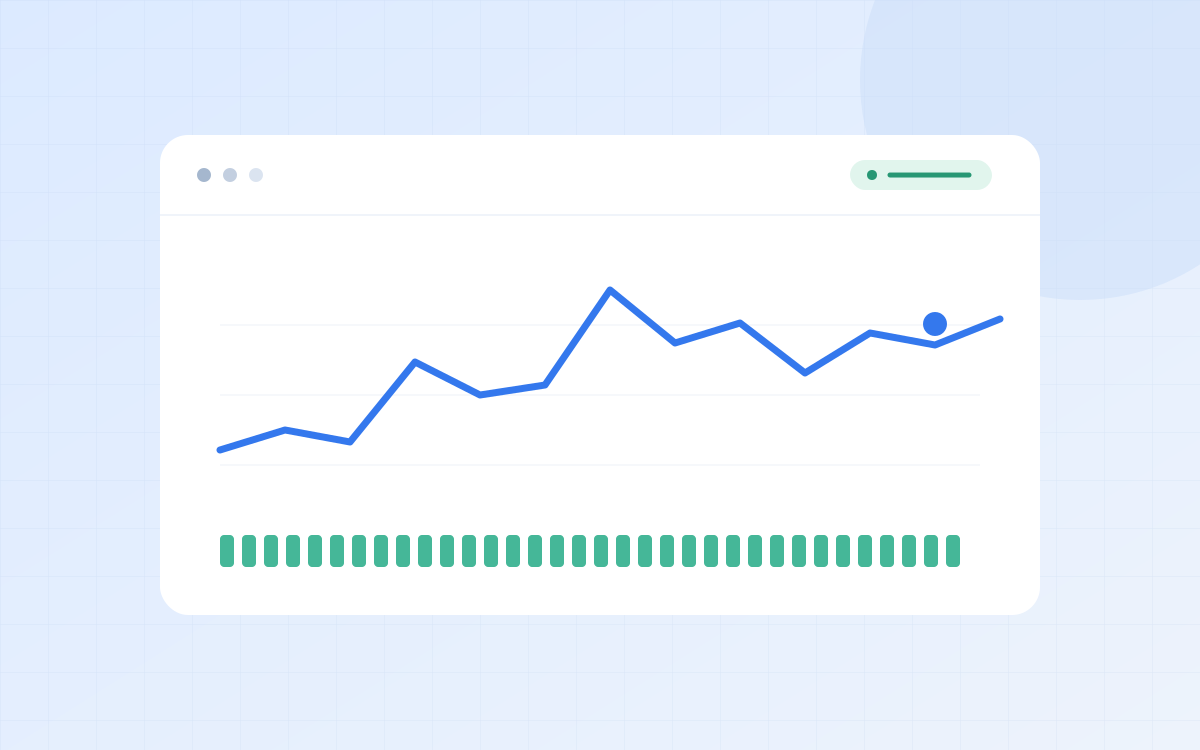
Your website may load on your computer while a customer sees an error. Monitoring gives you another point of view: regular checks of an address that matters to your users.
The first step is choosing what a successful check actually means. A response from a web server is useful evidence, but it does not prove that every part of the product is working.
Start with a meaningful endpoint
Monitor your public website and an important API endpoint separately. For an API, choose a lightweight health endpoint that does not modify data or expose credentials.
- Check that the expected HTTP status is returned.
- Measure response time as well as availability.
- Monitor production separately from staging.
A homepage can be healthy while a dependency used by checkout is unavailable. Add checks around important journeys as your monitoring needs grow.
Make alerts actionable
Choose who receives each alert and decide what they should inspect first. A notification is most useful when it includes the affected service, time and observed failure.
Monitoring identifies symptoms. Confirm the cause before changing a service.
Set intervals and failure confirmation to fit the service. Faster checks can shorten detection time; confirmation can reduce alerts caused by brief interruptions.
Establish a response routine
- Confirm the affected endpoint and time window.
- Compare recent deployments and infrastructure changes.
- Review application logs and dependencies.
- Verify recovery with fresh checks.
Keep a short incident note so the next person can understand what happened. For public communication, see our status page guide.
Keep improving the checks
Review noisy alerts and gaps after each incident. A useful monitoring setup evolves with your application. Start with a few checks you understand, then expand coverage deliberately.